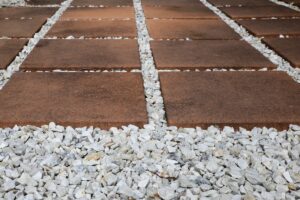
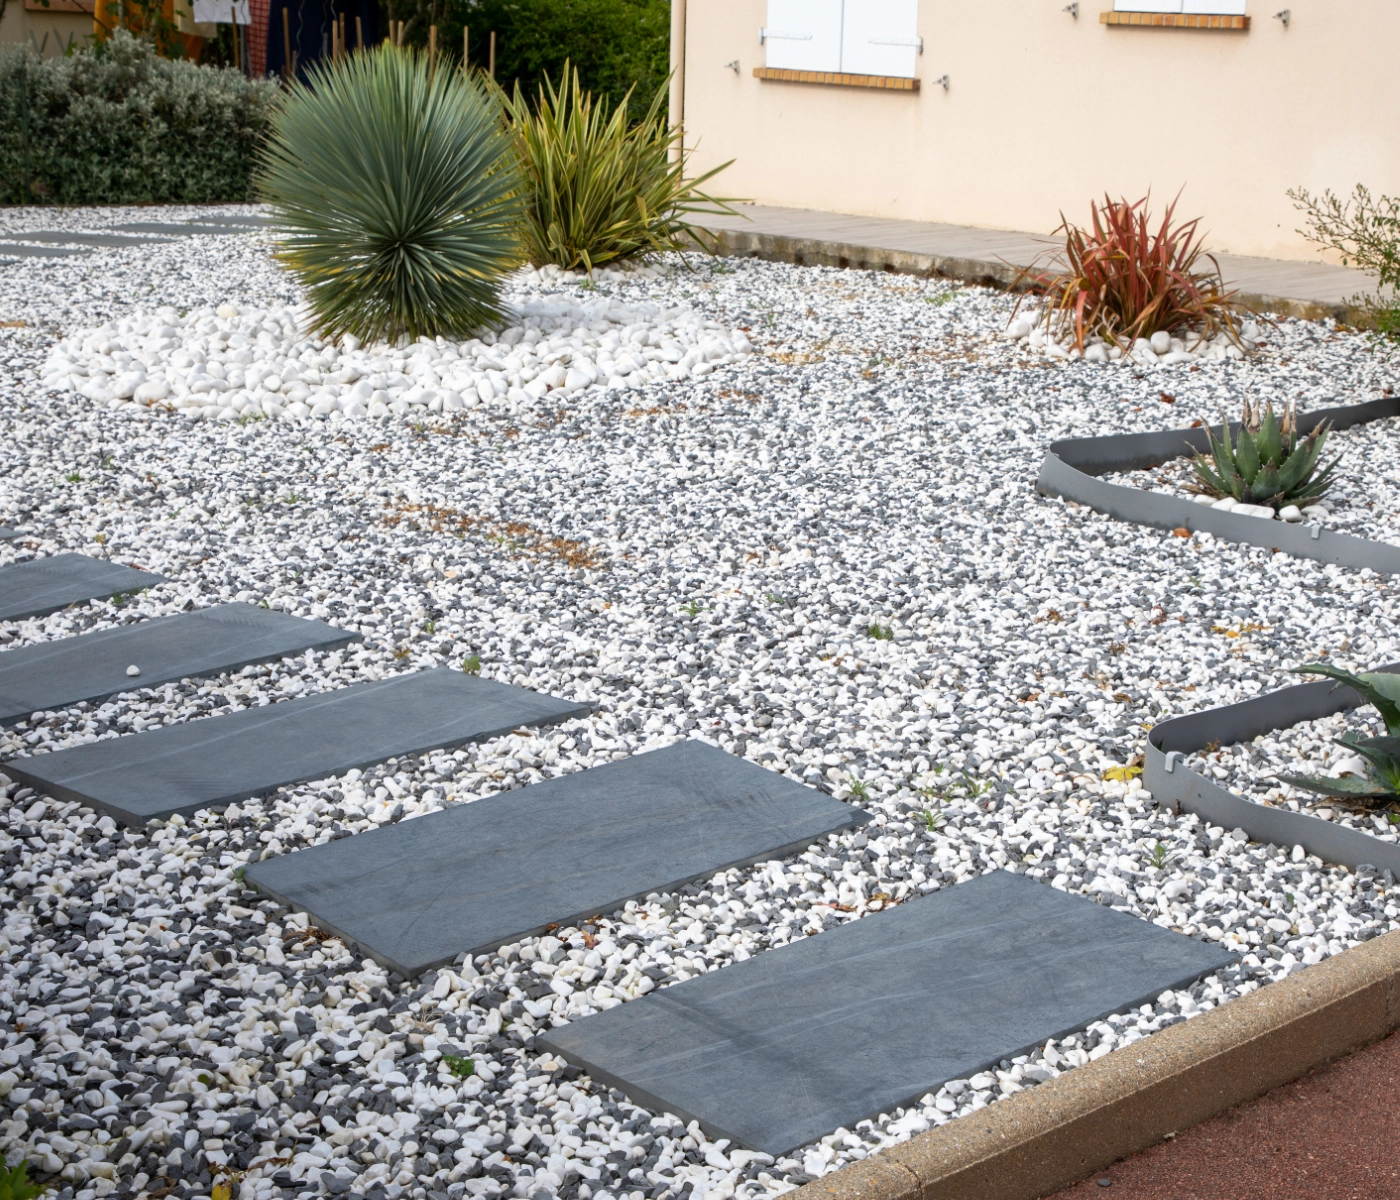
A stepping stone path is a beautiful finish to your garden or patio. To do it right you need to do more than just place the stepping stones in the gravel. You will want to create the perfect path by fixing your paving on a gravel surface. The following will show you how to properly lay your stepping stones on gravel…

Plan to have the proper tools before you start the project
There are several tools and materials you will need…
- Rubber Hammer
- Straight-edged timber or a spirit level
- Trowel
- Shovel
- String or builder’s line
- Line pins
- Builders sand
- Cement
- Stepping stones
- Gravel
- OR… have a professional landscaper do it for you!
Map Out the Length, Width, and Trajectory of Your Pathway
- Lay Out the Gravel on the Planned Pathway – To keep the same space between the pavers you can measure the distance with a tape measure. The point of your path is to allow you to walk from one point to another. Remember that children and elderly relatives may be using the stepping stone so it is better to place the slabs closer together than your own stride. Placing PVA glue to the bottom of the stepping-stone will help to stop the paving slab from becoming loose or sliding off the cement bed once dried.
- Start with the First and the Last Slab on Your Path – Laying the stepping stones at each end of the gravel path will help when you want to level the remaining slabs. Remove the gravel in the area you will be setting the paver. Compact the area. Compacting the area is an important step as it will set a solid foundation for your paving and prevent the areas from sinking.
- Add the Mortar Mix – Place a shovel full of mortar mix onto the cleared area. Make an even bed of mortar for the slab. Once the whole area of the stepping stone is covered place the slab softy onto the mix. Some of the mortar many need to be taken away to get the proper finish.
- Tap Down the Slabs – Once the slab is in place you need to tap down the surface to level it up. Use a spirit level and make the slab as even as possible by tapping its surface. Use a rubber mallet for tapping the slabs. Do not tap on the edges of the slabs always tap in the center.
- Filling the Gaps Underneath the Slab – Make sure the mortar has no gaps underneath the slab. Build up the mortar mix against the sides of the slab to keep it in place. Morton should be no more than three-quarters up the side of the slab to stop the slab from sliding off the mortar.
- Position the Rest of the Path – Fix line pins to attach a string line to the side of the first and last laid slabs. Make sure the line is tight and in line with the two slabs at either end. Use metal pins, hammered into the ground, and fasten the string line to the pins.
- Lay Remaining Step Stones in the Prepared String Line – You can lay the remaining stepping stone in the prepared string line. Use the same method as you used for the two previous slabs. When all the slabs are down use the spirit level to make sure they are all level with one another.
- Replace the Gravel – Proceed to remove the string line and pins and replace the gravel around the stepping-stones. Remember it takes between 24 to 48 hours for the mortar to dry. You want to wait so you do not move the slabs. Make sure no one walks on the path until the mortar is dry.
If you are thinking about a garden pathway you now know how to lay the stepping stones on gravel. Your next decision will be what kind of stones to use. They come in a wide variety of techniques for your landscaping. They are beautiful, durable, and versatile as well. We advise you to allow a professional landscaper to lay the path for you and to use Bray gravel for the path!
Request a Quote (859-635-5680) And We Will Contact You Shortly!
Calculate How Much Material You Need For Your Project
—
 About Bray Topsoil & Gravel
Topsoil and gravel delivered to you by Bray Trucking, a specialized aggregate hauler servicing the Kentucky, Ohio, and Indiana region.
>>Learn More


