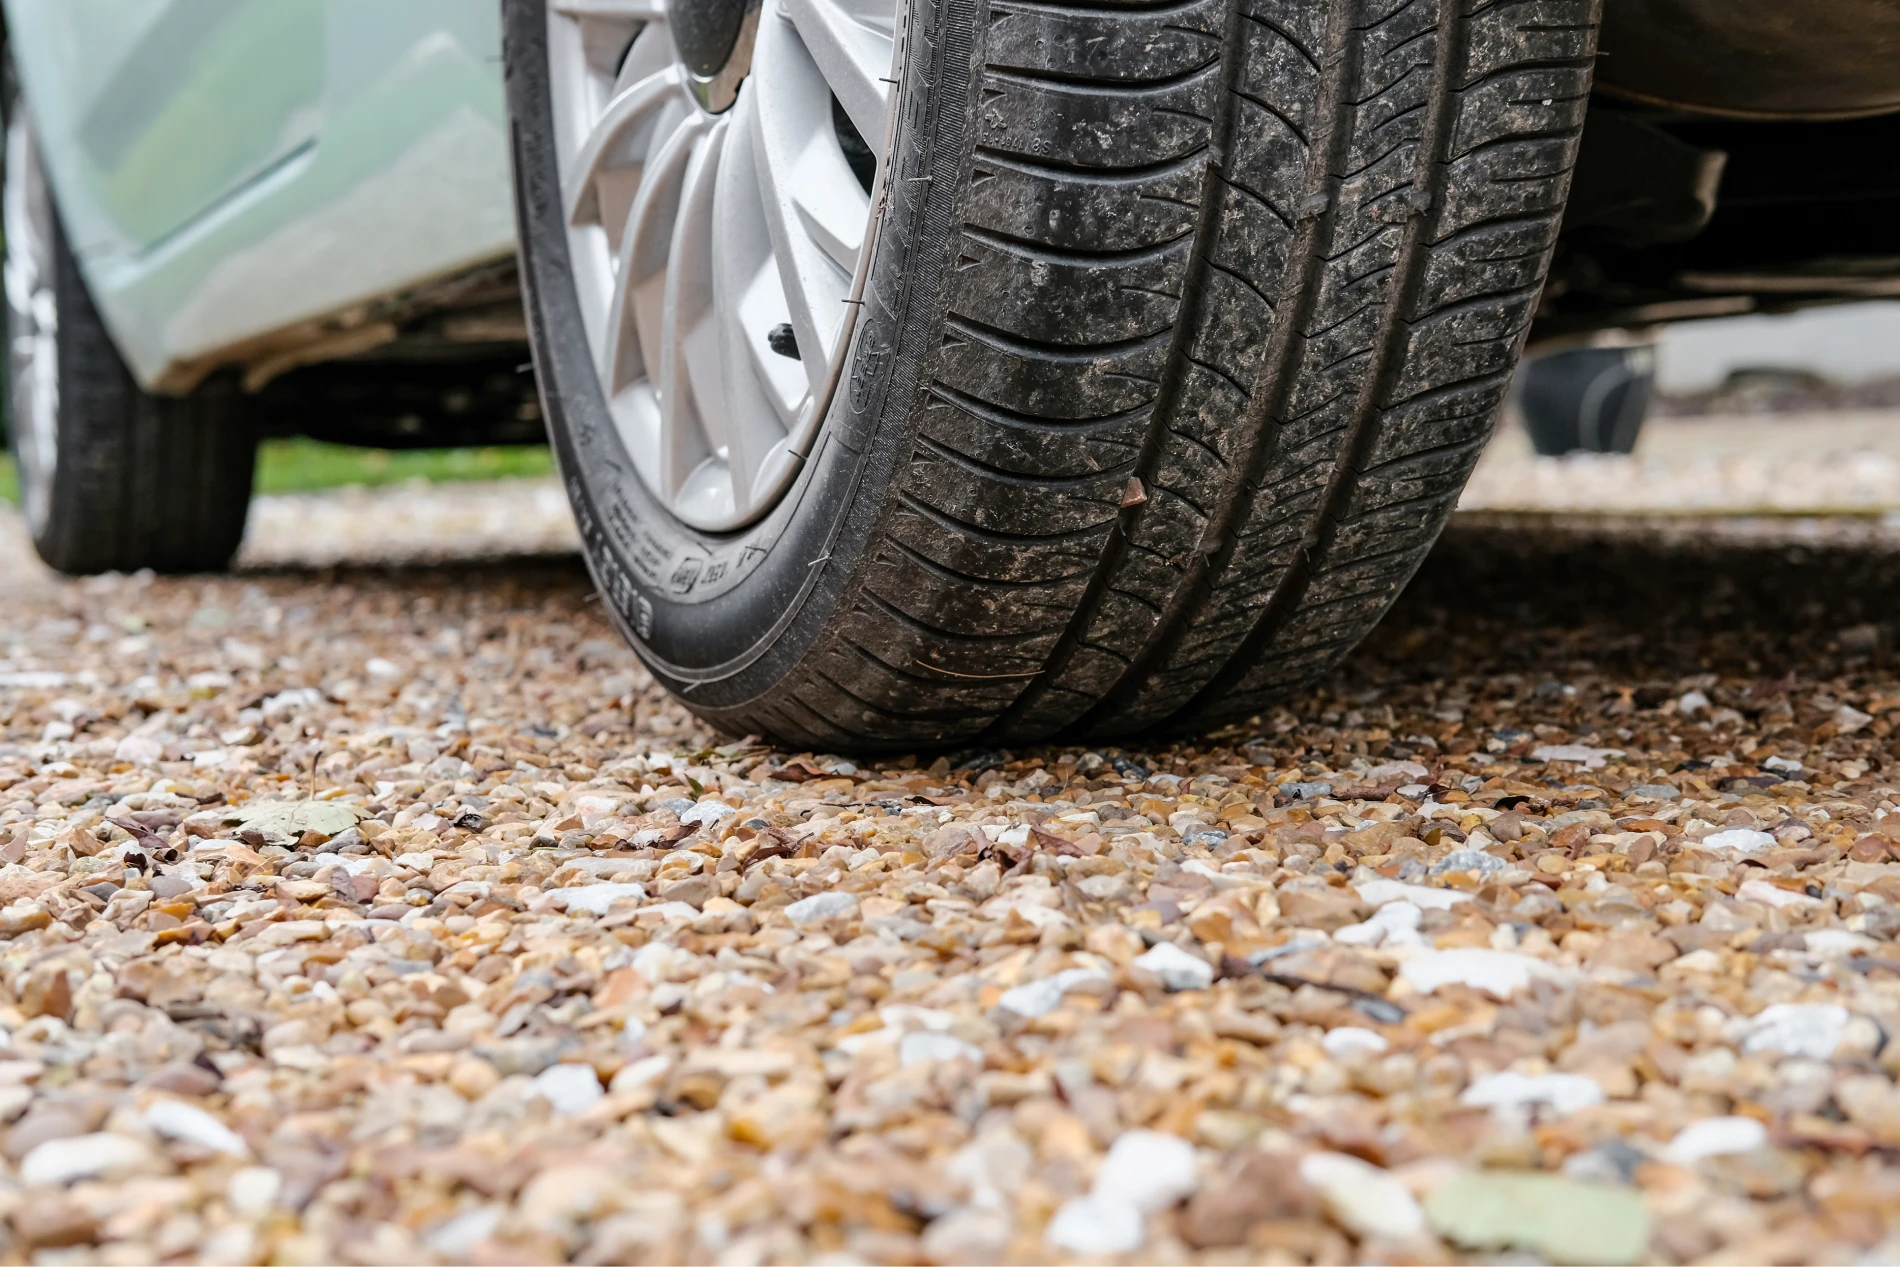
 If you are planning to build your gravel driveway, we can help! Fresh gravel not only enhances the curb appeal of your home, but it also increases the value of it. Many people assume that they will have to hire a professional to get the job done, but with the right tools and a detailed guide, you can build your own driveway. No need to spend extra on labor fees when you have the ability to do-it-yourself.
Materials & Equipment Checklist
Before you can get started on your gravel driveway, you will need to gather all the necessary equipment and materials. Not only will this help things go more smoothly, getting everything you need in the beginning will help you get the project done more efficiently.
Here’s what you need to complete your DIY driveway project:
- A Rake
- A Wheelbarrow
- Hoes
- Shovels
- Landscaping Fabric
- Landscaping Stakes
- Twine
- Safety Working Gloves
- Gravel
Building Your Driveway Step-By-Step
- Step #1: Plan Your Layout – The first thing you will have to do is decide the layout of your driveway. Choose one that suits the scope of your property while also meeting your personal preferences. If your home sits away from any main road, a narrow driveway might be the best option. But if your home is closer to the road, you might choose a wider, more expansive driveway. Figure out which layout is most functional and attractive based on your own home and the land it sits on.
-
Step #2: Mark Your Boundaries – Next you will need to clearly mark the boundaries of the driveway you are building. Use a string and landscaping stakes to rope off the area how you want it. Measure out the driveway’s length and width to create uniformity. Before you begin digging, call 811 to make sure you do not hit any utility lines. You might also ask another person their opinion on your layout before you start. It’s always good to get more than one opinion when you are taking on a big project.
- Step #3: Deciding The Depth Of Your Driveway – Consider how deep you want your driveway to be. Making this decision early on allows you to know just how much soil you will have to dig out and how many layers of gravel you will need to lay down. Typically, the standard depth of a driveway is between 12 and 18 inches. Yours should fall somewhere in that range.
- Step #4: Time To Excavate – Once you have all of your measurements ready, you can start excavating. You will need your shovels and garden hoes. Once you’ve dug out the soil, use your wheelbarrow to haul it off away from the area. This tends to be a long process, but you’ve got it! If doing it by hand is too much to take on, you can lease special equipment and machines to excavate. Not only will this speed up the process, but it will also provide you with better, more accurate results. Remember that any excavated ground has to go somewhere, so consider how you can use it around your property or look for local services that will haul it off.
-
Step #5: Figure Out How Much Materials You Will Need – After you have excavated the area, you are left with a hollow driveway path that needs to be filled with driveway aggregates. But before you can fill it, you need to determine how much gravel you need to complete the project. Calculating this now will help you avoid spending unnecessary money on materials. Don’t worry, you do not have to be an expert to get the right calculations. You will only need to get the correct volume in cubic tons and yards. To calculate this, you need to enter the length, depth, and width of the area. Your calculator will then provide you with how much materials you need for your project.
- Step #6: Prepping The Base Of Your Driveway – Now that you are done excavating and know just how much materials you need to purchase, it is time to prep your driveway base. In order to get gravel aggregates to sit firmly on the ground, you need the right base layer. Lay down your landscaping fabric to avoid weed growth.
- Step #7: Install And Compress Each Layer – Most driveways have three layers, each one between 4 and 6 inches in depth. First you will need to start with a base layer using large rocks, the second layer has smaller rocks, and the third, a top layer of gravel. After you pour each layer, carefully compress it using a heavy compressor or even just your vehicle (you will have to drive over several times.) Either way, you need to do this strategically and allow for time for the rock to dry before moving on to the next layer.
- Step #8: Crowning The Surface – Water is the easiest way to poison a driveway. If you want to protect it, you need to grade the crushed stones and crown your driveway. Incline the stones to the side to properly drain any rainwater. This will need to be a part of your routine maintenance and done seasonally.
- Step #9: Time To Enjoy Your New Driveway – Once you have finished all the steps, you can now enjoy and use your DIY driveway. Building a driveway is not as hard as you might have thought– you just need the right materials, follow each step of the process, and put it to use.
A nice driveway will add value to your home without breaking the bank in the process. This DIY project is easy to maintain and makes for an affordable option that will look great. Our step-by-step guide provides you with all you need to know when it comes to adding a new gravel driveway to finish off your home.
Bray Can Deliver You The Right Gravel For the Job
Bray has been providing the Greater Cincinnati area with quality gravel for over 70+ years! We pride ourselves on service and have the capacity to deliver the type of gravel you need for residential and commercial projects.
> Learn More
Request a Quote (859-635-5680) And We Will Contact You Shortly!
Calculate How Much Material You Need For Your Project

About Bray Topsoil & Gravel
Topsoil and gravel delivered to you by Bray Trucking, a specialized aggregate hauler servicing the Kentucky, Ohio, and Indiana region.
>>Learn More

